Zendesk Feedback Pro
💬 A complete article feedback add-on for your Zendesk help center
⚡ Improve content by empowering users

Ever wanted to know why your visitors downvote an article?
Unfortunately, the default article voting feature of Zendesk does not allow you to gather feedback from visitors. 👎 is all you get, and there's no way to know why your users downvoted.
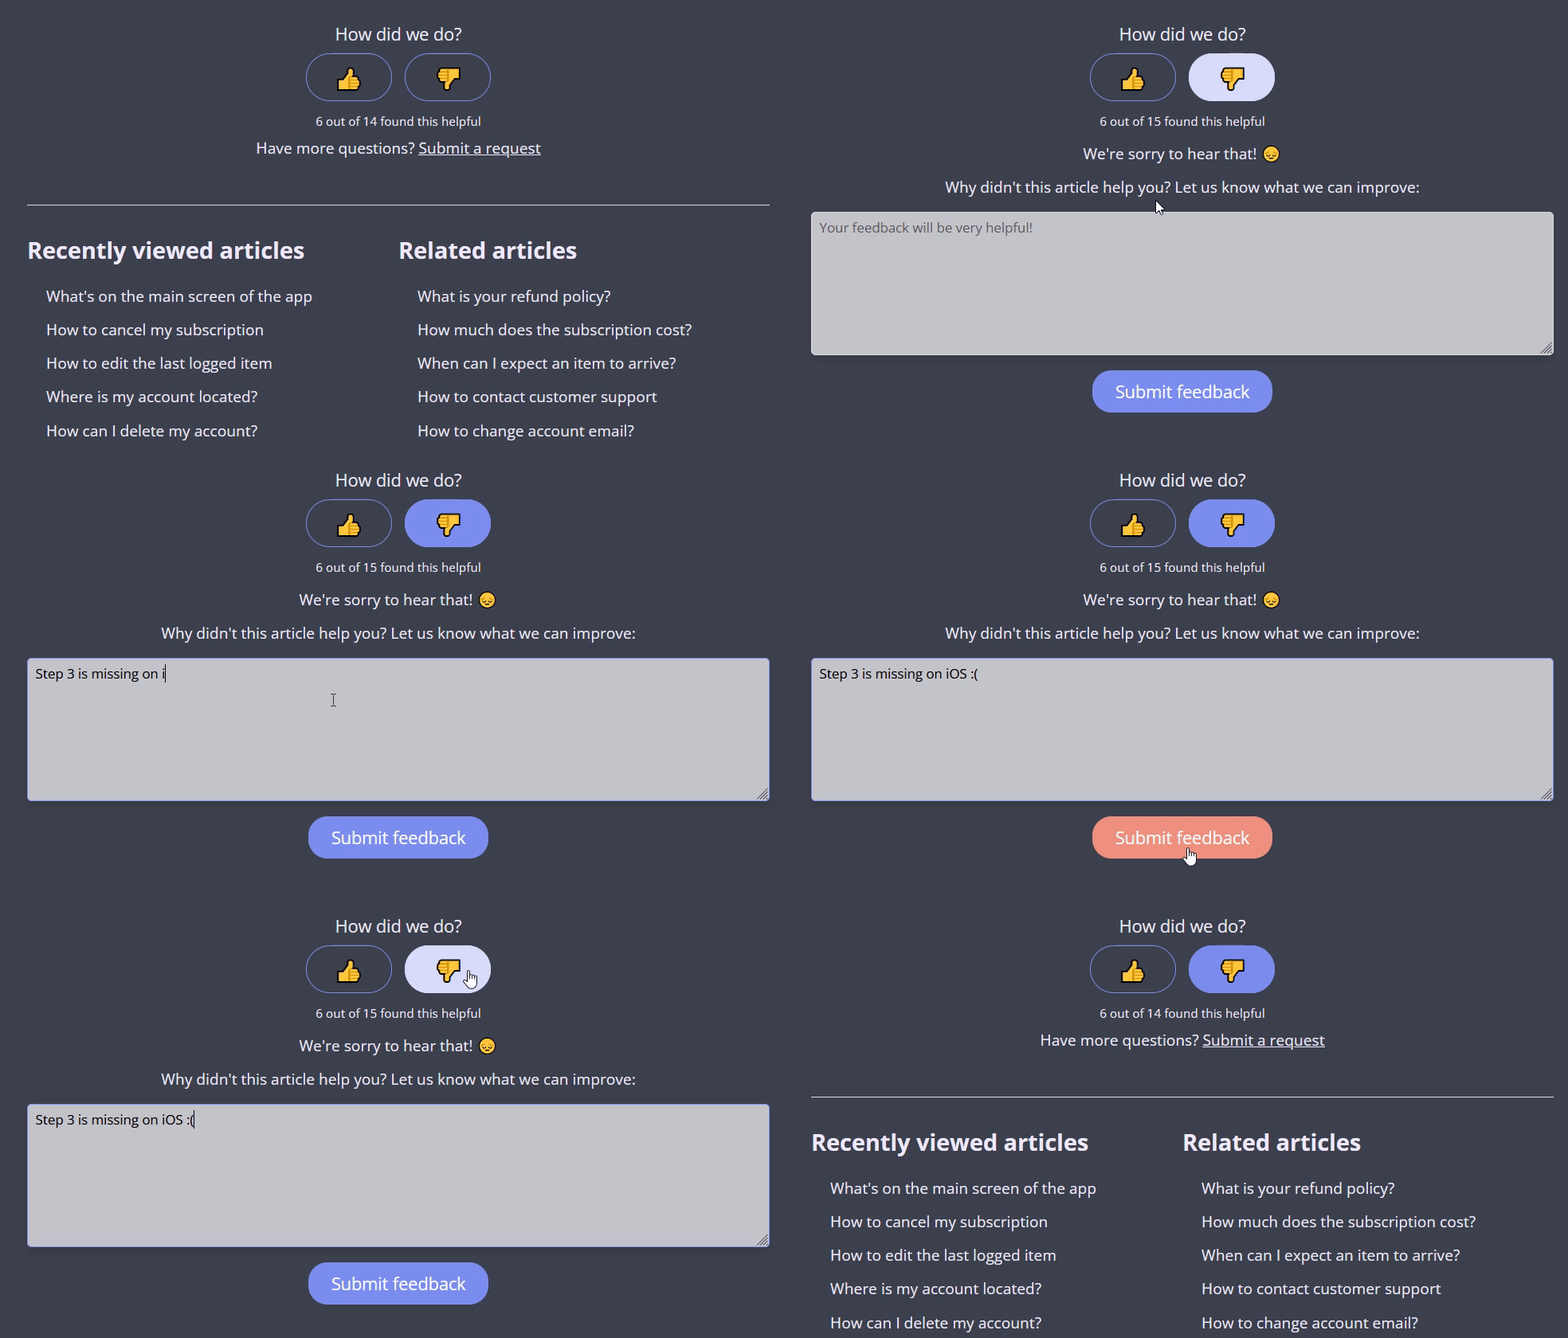
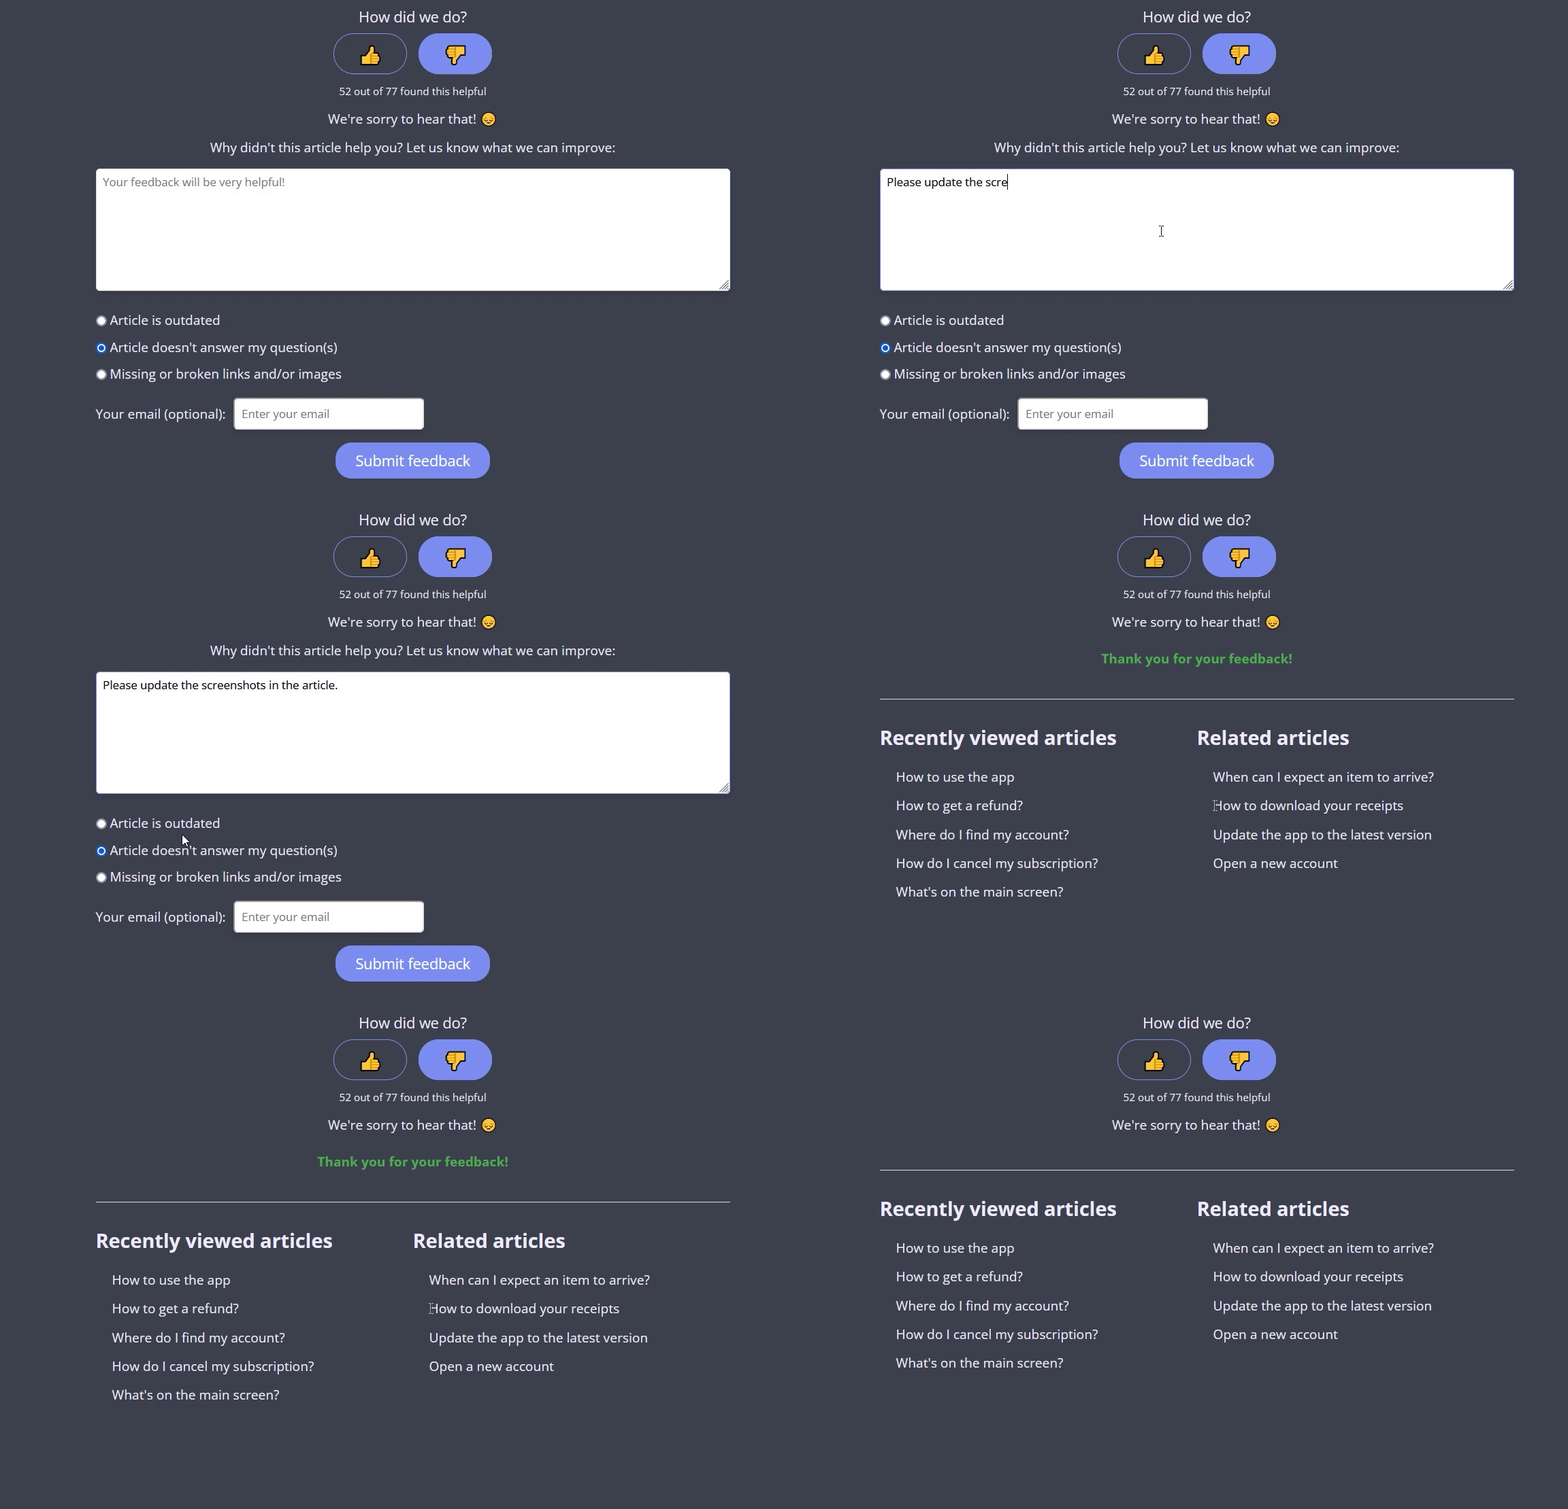
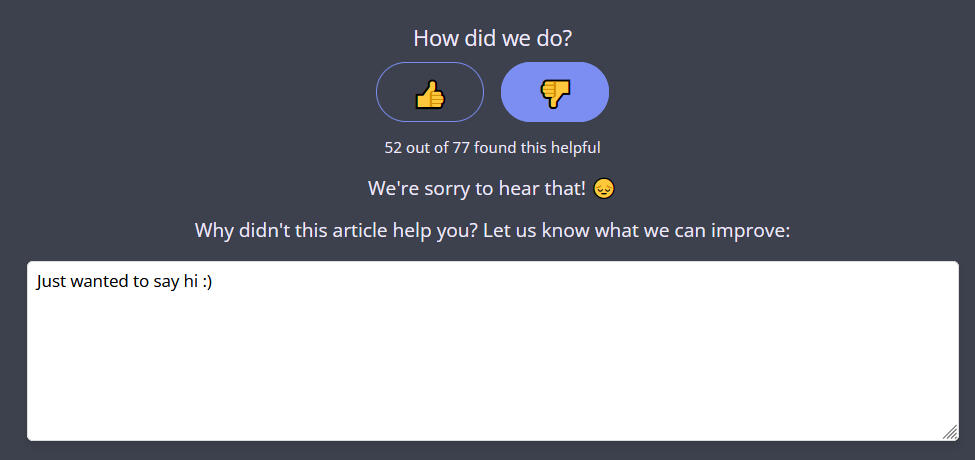
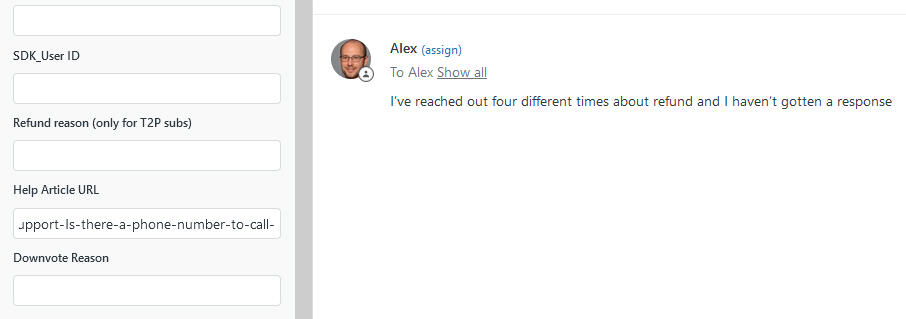
Zendesk Feedback Pro gives you relevant feedback from your users alongside a downvote. A ticket will be created in Zendesk Support immediately after form submission. The ticket description will contain the user's comment, the article URL, and the downvote reason.

Requesting feedback for article downvotes made easy
Users can also leave their email in case they'd like to receive a response. If they don't input their email, the ticket requester will be one of your agents.
Don't need the options and want to focus only on the text field? No problem!

∞ Close the Loop


With Zendesk Feedback Pro, you can create guide-specific views, enabling your content team to manage article feedback tickets with ease.
Additionally, if a visitor happens to use the feedback form to request assistance, the module allows for easy reassignment to support by your team.
Key Benefits
- ⚡Same day installation to any Help Center theme.
- 🎨Respects the brand colors and font.
- ✅Tested to ensure everything works as intended.
Code snippets for manual installation
This snippet renders the feedback form that appears when a user clicks the downvote button. It sends feedback to Zendesk along with the current article's URL, which is automatically injected via JavaScript.
Note that the form's action attribute points to a Zendesk endpoint to create a support ticket, mapping the article URL to a custom field (ticket[custom_fields][10202663276573]) using encodeURIComponent(window.location.href).
This JavaScript file powers the feedback system. It toggles the visibility of the feedback form when the downvote button is clicked, and hides the form when clicking anywhere outside or re-toggling.
Upon submission, it gathers the feedback text and current article URL, packages them into a Zendesk ticket (including proper custom fields and tags), and sends a POST request to Zendesk's tickets.json endpoint.
This CSS file styles the feedback form for a sleek, modern look. It leverages animations such as slideFade and slideUpFadeOutto smoothly show and hide the form.
Key elements are styled for clarity and usability, featuring hover effects, rounded designs, and semi-transparent backgrounds for enhanced readability.
Integration Guide
If you want to add this feedback form to your Zendesk Help Center, follow these steps:
1. Set up your custom field in Zendesk: Create a dynamic custom field in Zendesk (via Admin > Manage > Ticket Fields) to store the article URL. Make sure this field is active and mapped correctly in your ticket forms.
2. Update the form action URL: Replace yourdomain in the form's action attribute with your actual Zendesk domain. Also, update the custom field id 10202663276573 with the id of the dynamic field you've created in Zendesk to store the article URL.
3. Configure Zendesk API credentials: In the script.js file, replace the placeholder values:
- -
zendeskSubdomain: your Zendesk subdomain. - -
zendeskEmail: your Zendesk admin email. - -
zendeskToken: your Zendesk API token.
4. Verify API Access: Ensure that API access is enabled in your Zendesk account and that your credentials have the appropriate permissions.
